Welcome to our Installing Pavers Section!
Installing PAVERS OVERVIEW
Aside from choosing the design for your property improvement project using different pavers, you should also know how to properly install them (should you wish to do it DIY style). As it is, installing pavers can be quite an enjoyable and fun activity that you can do with your family or friends. But DIY or not, these are the steps that should be observed when installing paver materials:
- Plan or layout the paved area – It’s key to first have a graphic idea of your work area. Make a rough sketch of the area where you will lay the pavers, taking into careful consideration the space that the driveway, garden, and other features will occupy. Then, layout the area by using wood, hose, and other markings. Make sure that the area will have a gradient or slope to prevent ponding or pooling.
- Calculate the needed pavers – Simply measure the length and the width of the area to be covered; then multiply the length and the width to get the total square meters or square feet of pavers that you have to buy. Add about 5-10 percent to the total to compensate for the pavers that would have to be cut.
- Excavate – Dig down the area where you’ll place the pavers. Make sure to go down one inch every 4 feet to create the slope or gradient that you need. Use a compacting machine to compact the excavated area.
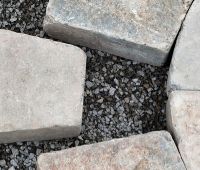
- Lay the base materials – You may use gravel, limestone, or crushed stone. The thickness depends on your soil – if it’s clay, the base materials should be thicker.
- Place edgings – Edgings keep the pavers in position and prevent them from separating from one another. You may use steel, precast concrete, or plastic.
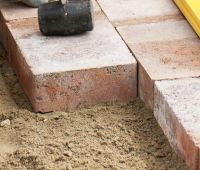
- Apply the sand bedding – The sand bedding will be the material where the pavers will be set into. Make sure to apply just the right amount of sand so that the pavers will not sink into the base material.
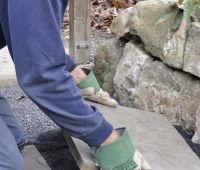
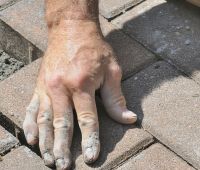
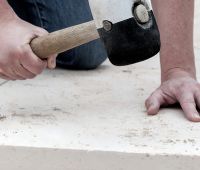
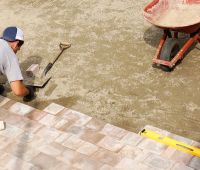
- Lay down the pavers – Carefully lay the pavers down according to your desired pattern. You can choose from basket weave, fan, herringbone, running bond, and other unique patterns. Make sure to follow the manufacturer’s guide when installing pavers. After setting them properly, use a mechanical compactor to help establish a nice joint with the sand bedding.
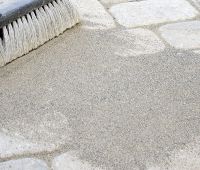
- Fill up joints with sand – Use dry, fine-grained sand to fill up the joints.
Installing PAVERS VIDEOS
Watch the following videos to learn more about the proper way of installing pavers in your property.
Soil Testing for Interlocking Concrete Pavement Installation
View Video »
Job Layout and Excavation
View Video »
Installing PAVERS APPLICATIONS
Installing pavers provides a lot of great benefits that property owners will surely enjoy. Pavers, whether stone or concrete, are highly versatile and can be used in dozens of applications, such as:
- Patios
- Driveways
- Courtyards
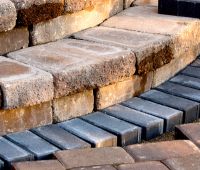
- Steps
- Garden paths
- Parking areas
- Walkways
- Garages
- Sitting walls
- Outdoor kitchens
- Pool and view decks
- Fireplaces and fire pits
- Rotundas
- Gazebos
INSTALLING PAVERS PHOTOS
Browse through these photos to see how Installing Pavers can enhance your property's beauty and functionality. Click on the images below to view a larger display.
|
RESOURCES
Below is a list of Installing Pavers Resources throughout the United States..: Manufacturers of Installing Pavers:
Find Installing Pavers Manufacturers in the USA >>
.: Suppliers of Installing Pavers:
Find local Installing Pavers Dealers in your area >>
.: Installers of Installing Pavers:
Find local Installing Pavers Contractors in your area >>


